
Full disclosure: I wrote the book recommended in this post, Take Photos You Love: Every Single Time. The Amazon links below are plain links, not affiliate links. If you buy it, the royalty goes straight to us and helps keep this blog going.
Last updated Nov 2026
Short answer: better travel photos rarely come from a better camera. They come from four decisions you make before you press the button: where the light is, what order you put in the frame, which viewpoint you choose and what is happening at the edges. Below are ten travel photography tips for beginners, most of them shown with a photo from our own family trips (with the camera and settings whenever the original file still has them), so you can see that a phone and a full-frame camera follow the same rules.
What we shoot with (and why it matters less than you think)
Our travel kit is a mix: a Sony A7C II for most of our recent trips, our iPhones, a small DJI drone and, on some trips, a Leica M11 with a 35 mm lens. In Japan I carried a Fujifilm X100VI, which did not survive the flight home (that story is here). Where the original file still has its metadata, the caption gives the real camera and settings. Our 2019 Azores photos only survive as smaller copies without it, so those captions don’t list settings.
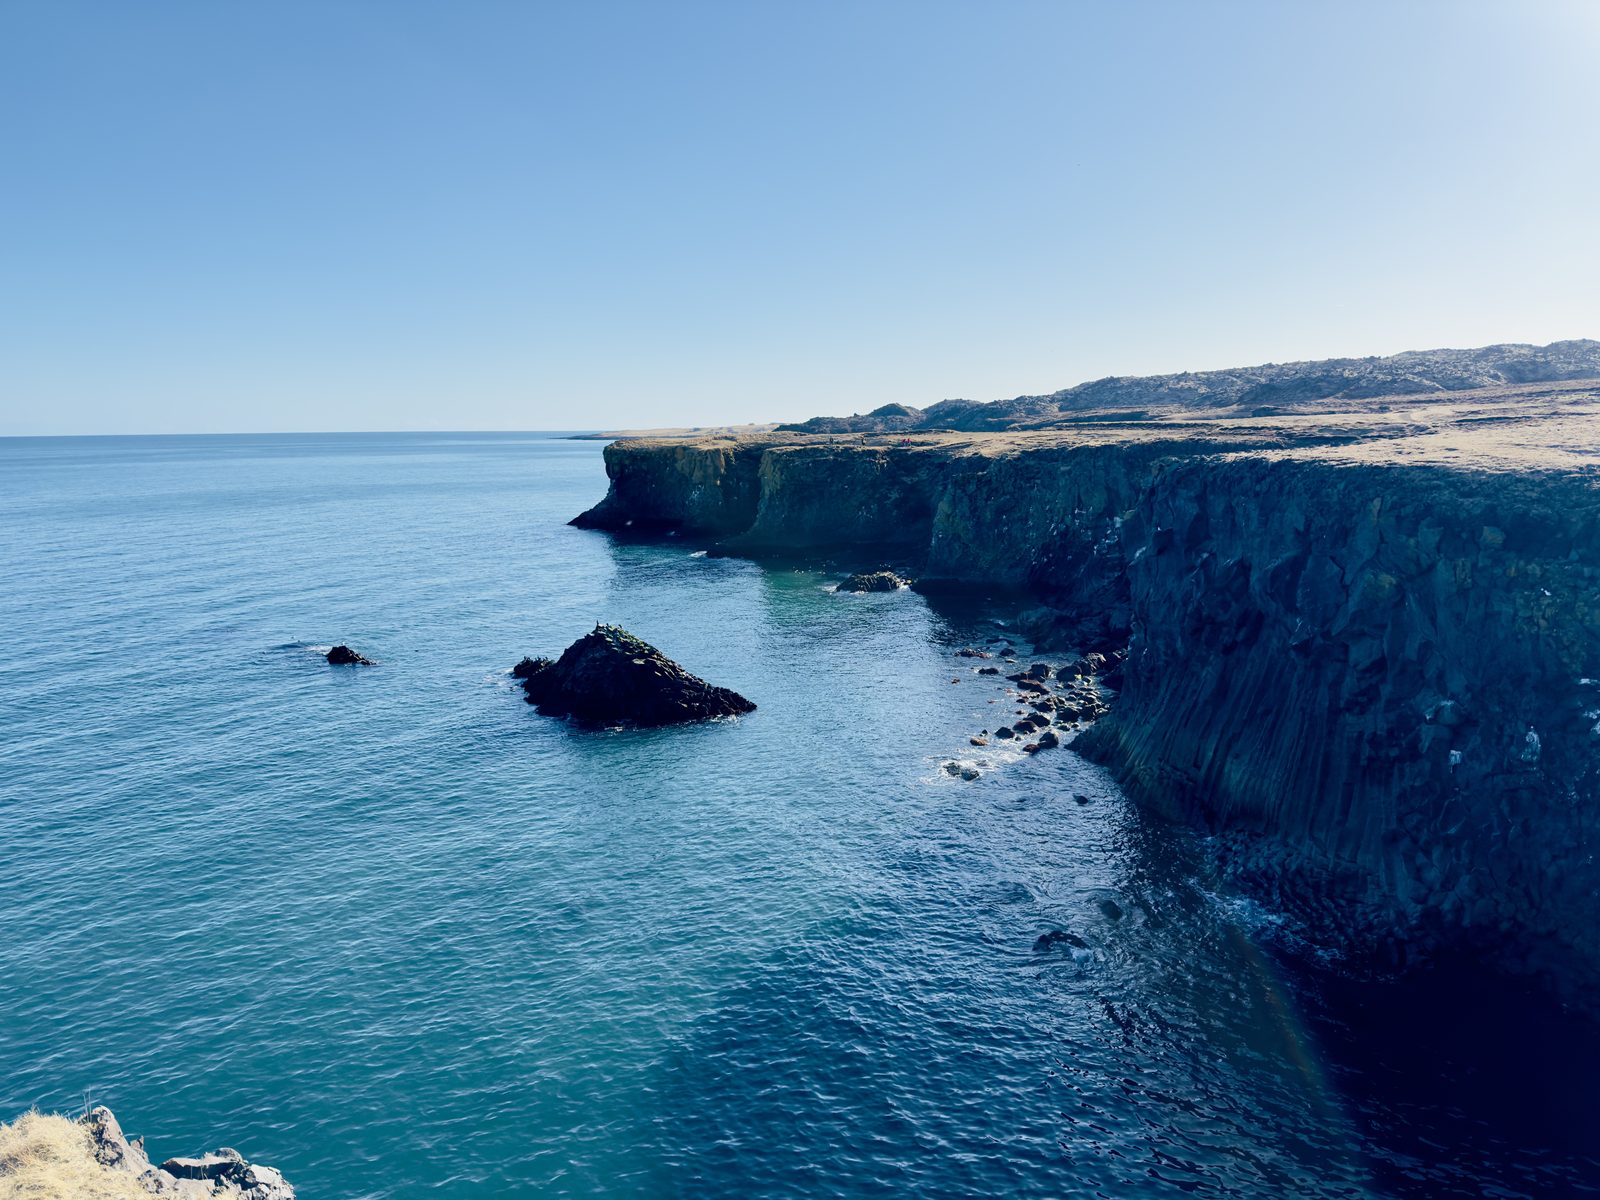
The point of listing all that is the opposite of a shopping list. The photo at the top of this post was taken on a phone. The habits are what carry over from camera to camera.
1. Shoot the light, not the landmark
Before you think about the subject, look at the light. Is it hard and overhead, soft and cloudy, low and golden, or coming from behind your subject? The same mountain can look flat at noon and dramatic an hour later. Some practical ways to use this on a trip:
- Plan the big viewpoint for the start or end of the day when you can, and use the harsh midday hours for driving, lunch or museums.
- Don’t write off cloudy days. Overcast light is soft and even, great for waterfalls, forests, streets and people seen from behind.
- Use the sun as a subject. If you have to shoot into it, partly hide it behind an edge (a peak, a roof, a tree).

2. Decide what the photo is about
Most disappointing travel photos have no main subject. The eye wanders around and finds nothing to rest on. Before you shoot, finish this sentence: “This is a photo of…”. If the answer is “everything”, step closer, zoom in or remove something from the frame.
Simple, strong shapes help. In the photo below, from the Azores, the photo is about the yellow doors. The white wall frames them, the small window above repeats the colour, and nothing else competes.

3. Use leading lines to pull the viewer in
Roads, rivers, fences, shorelines, rock channels: anything that runs from the front of the photo towards the back gives the viewer a path to follow. Put the line so it starts near a bottom corner and runs towards your subject, or into the distance.

4. Change your viewpoint
Most people take photos from standing eye level, so the easiest way to make yours look different is to move. Crouch down so a foreground rock or puddle fills the bottom of the frame. Climb a few steps. Walk 20 metres to the side. If drones are allowed where you are, going straight up shows patterns you simply cannot see from the ground.

A quick reminder: drone rules change from country to country and from park to park, and many national parks and historic sites ban them. Check the local rules before you take off.
5. Check the edges before you press the shutter
Our eyes lock onto the subject and ignore everything else, but the camera records it all. Before you shoot, run your eyes around the four edges of the frame. Look for a half-cut person, a bin, a bright sign, a branch poking in, or a tilted horizon. A small step or a slight change of angle usually fixes it. If it doesn’t, you can crop later, but getting it right in the camera is faster.
6. Find a frame within the frame
Arches, windows, doorways, trees and gaps in a rock all make natural frames. They add depth, hide clutter around the subject and tell the viewer exactly where to look. Old cities are full of them.
7. Give a sense of scale, and respect people’s privacy
Big landscapes can look surprisingly small in photos. One person in the frame, seen from behind or far away, shows how big the place really is. It also shows what it felt like to be there.

If you photograph strangers, especially children, ask first. If you can’t ask, keep them small, far away or with their backs to you. On this blog we don’t publish portraits of people’s faces, and that rule makes us better at composing around people.
8. Get more out of your phone
Phones are excellent travel cameras if you give them a little help:
- Wipe the lens. Phone lenses are always smudged, and a dirty lens causes most hazy, flary phone photos.
- Tap to focus, then slide to adjust exposure. Bring the brightness down a little for skies, sunsets and bright snow, so you keep detail in the highlights.
- Use the other lenses. The ultra-wide is great for tight streets and interiors, and the telephoto is great for isolating one detail of a big scene.
- For night shots, keep still. Brace the phone against something solid, or use a small tripod, and let night mode do its work.

9. Simple camera settings for travel
If you have a camera with manual controls, you don’t need to master all of them to improve. These starting points cover most travel situations:
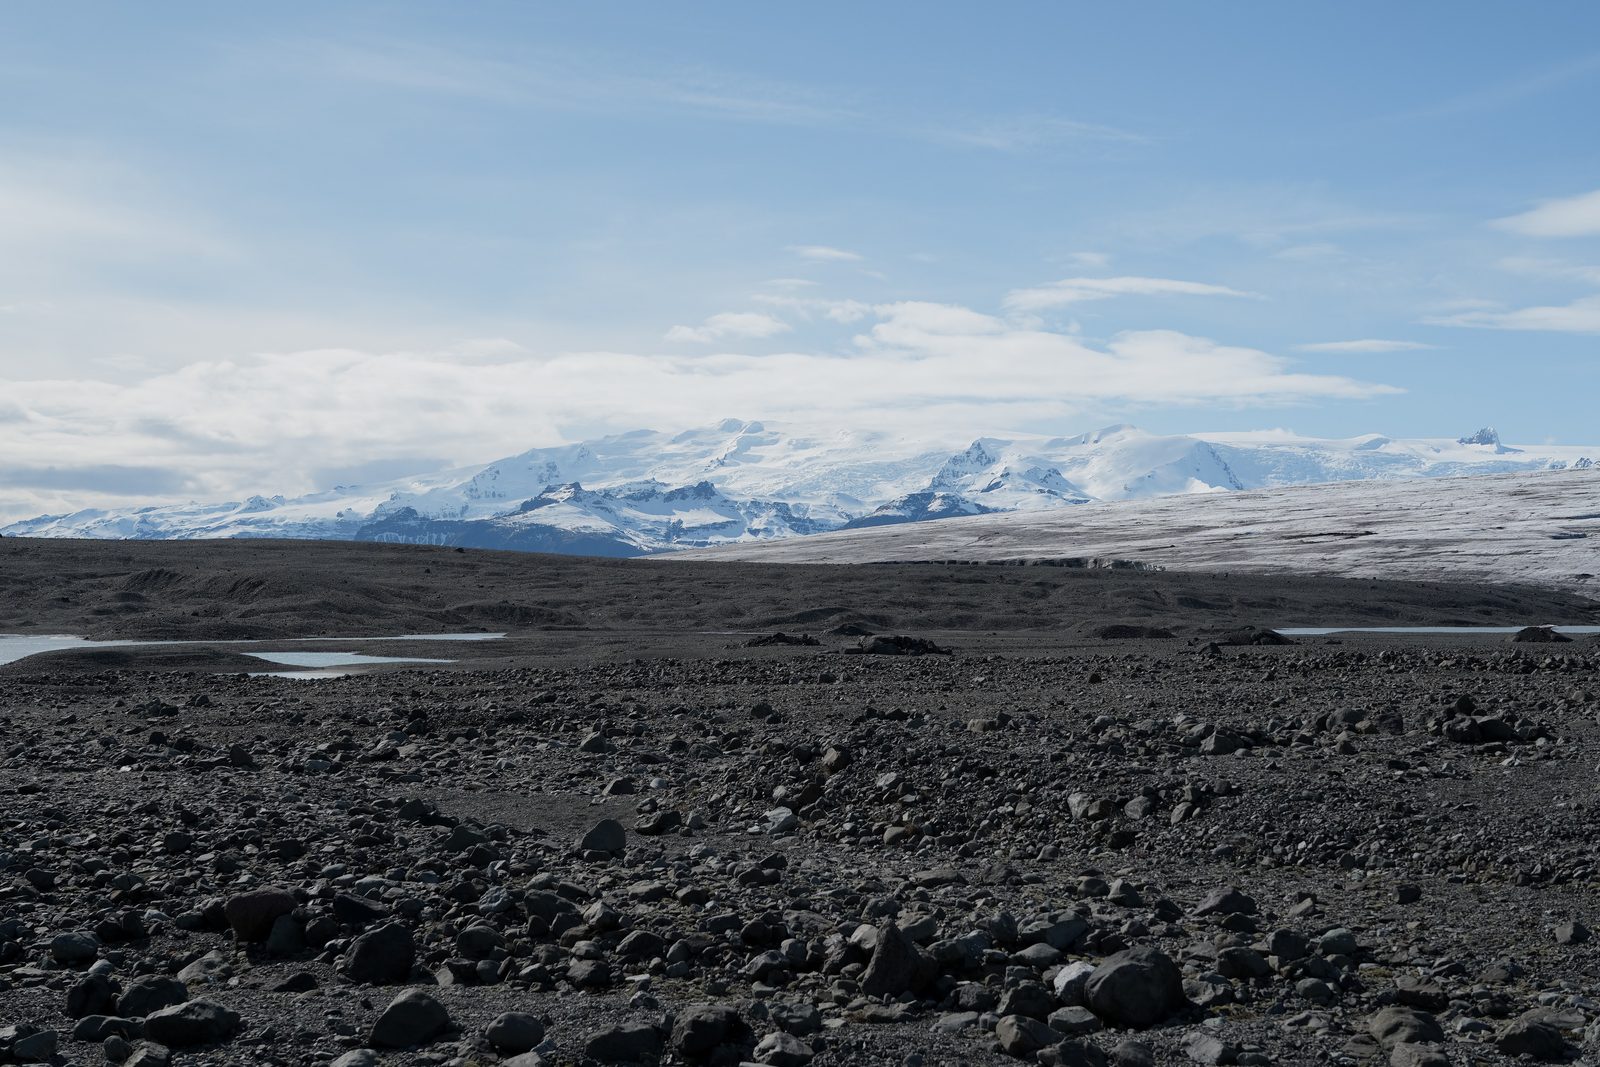
- Landscapes: around f/8 to f/11 for sharpness from front to back, with the lowest ISO that still gives you a fast enough shutter speed. Most of our Iceland landscapes were shot at f/8 or f/11 and ISO 125 to 200.
- Moving water and people: watch the shutter speed. Freeze motion at 1/500 s or faster, or use a slower speed on a support if you want silky water.
- Bright, contrasty days: if your camera shows a histogram, check it, and protect the highlights in skies and snow.
- Shoot RAW if your camera allows it. It gives you far more room to fix exposure and colour later.

10. Shoot fewer, review more, edit lightly
It is tempting to fire off 30 frames of every viewpoint. Try the opposite: take one, look at it on the screen, ask what is wrong with it (light, subject, viewpoint, edges) and take a better second one. In the evening, pick your favourites from the day and delete the near-duplicates while you still remember the scene.
When you edit, go easy. Straighten the horizon, crop what you missed at the edges, adjust exposure and contrast, and stop. If a photo needs heavy editing to work, the problem was usually in the composition.

The four-second habit that ties it all together
Every tip above comes down to the same four questions, and they are the heart of my book, Take Photos You Love: Every Single Time. I call it the LOVE Check: Light, Order, Viewpoint, Edges. It is a four-second habit before you press the button, meant to turn lucky shots into something you can repeat.
- Light: where is it coming from, and is it helping this subject?
- Order: what is the photo about, and is everything else supporting it?
- Viewpoint: is this really the best place to stand?
- Edges: is there anything at the borders that shouldn’t be there?
Want to go deeper? Take Photos You Love
If this post was useful, the book goes much further. Take Photos You Love: Every Single Time — Train Your Eye for Composition, Light and Color with Any Camera is a 132-page Kindle ebook I published in September 2026. According to its Amazon page, inside you will find:
- 65 short, practical chapters on composition, light, colour, timing and editing.
- 25 Photo Studies using my own travel and family photographs.
- Clear diagrams, a Five-Minute Photo Study method and a 30-Day Train-Your-Eye Challenge.
- A grounded take on AI editing and photographic authenticity.
No jargon and no gear shopping list. It works with the camera or phone you already own.
It costs €4.99 on Amazon.es and $4.99 on Amazon.com at the time of writing (November 2026; prices can vary by country). The book is in KDP Select, so Kindle Unlimited members can read it at no extra cost. You don’t need a Kindle device: the Kindle app on a phone or tablet, or Kindle for Web in a browser, works fine.
👉 Get Take Photos You Love on Amazon
And if you read it, an honest review on Amazon helps more than you might think. It is a new book and every review counts.
See these tips in action on our trips
- Iceland: waterfalls, black sand beaches, a drone over Þingvellir and the northern lights in our 10-day Iceland Ring Road itinerary in April.
- Madeira: cliffs, lava pools and villages in our Madeira with kids itinerary.
- Azores: villages, coastlines and island ferries in our Azores island-hopping itinerary.
- Athens: the Acropolis on the Leica in our OLYN Athens post.
- Japan: street life and food in Osaka, and getting around Hakone and Mount Fuji with the Freepass.
- More photography posts: everything is collected in our Photography category.
FAQ
What is the best camera for travel photography for beginners?
The one you already have, especially if it is a recent phone. Learn to see light and composition first. Upgrade only when you know exactly what your current camera can’t do for you, such as low light, a long zoom or interchangeable lenses.
How can I take better travel photos with my phone?
Clean the lens, choose your light, decide on one main subject, move to find a better viewpoint, check the edges of the frame, and lower the exposure slightly for bright skies. Brace the phone for night shots.
What camera settings should I use for landscape travel photos?
A good starting point is an aperture of f/8 to f/11, the lowest ISO that gives you a sharp shutter speed, and RAW files if your camera supports them. Then adjust for the scene, for example a faster shutter for moving water or people.
What is the LOVE Check?
It is the four-question habit at the heart of Take Photos You Love: Every Single Time: Light, Order, Viewpoint, Edges. You run through it in a few seconds before pressing the shutter.

Leave a Reply